Are you a developer looking for a powerful, efficient, and user-friendly integrated development environment? Look no further than Xcode IDE. Whether you are a beginner or an experienced developer, Xcode IDE is your go-to tool for creating exceptional applications across various platforms. This comprehensive guide will dive into the world of Xcode IDE, providing you with valuable insights, expert tips, and step-by-step instructions to help you harness the full potential of this innovative software.
Xcode IDE: Unleashing the Power of App Development

Developing high-quality applications requires a robust toolkit that streamlines the coding process and enhances productivity. Xcode IDE, developed by Apple Inc., is a comprehensive platform that meets all these requirements and more. This integrated development environment offers a wide range of features and tools designed to simplify the app development process, making it the preferred choice for millions of developers worldwide.
What is Xcode IDE?
Xcode IDE is an integrated development environment available exclusively for macOS. It serves as a one-stop solution for creating outstanding applications for macOS, iOS, watchOS, and tvOS platforms. With a suite of powerful tools, Xcode IDE enables developers to code, debug, test, and deploy applications efficiently.
Key Features of Xcode IDE
Xcode IDE comes armed with a plethora of features that streamline the development workflow and enhance productivity. Here are some key features that make Xcode IDE the ultimate choice for developers:
- Interface Builder: The Interface Builder allows developers to create visually appealing user interfaces through a drag-and-drop interface, saving precious time and effort.
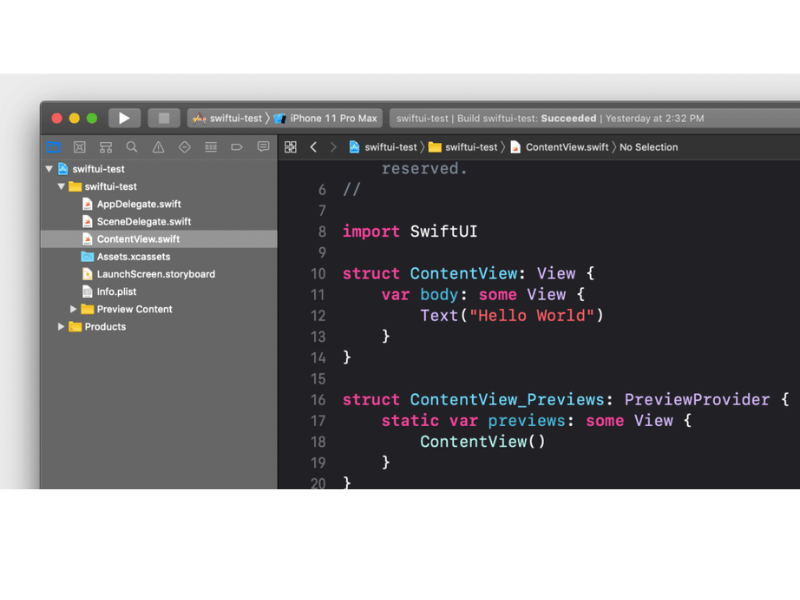
- Source Editor: The Source Editor offers a wide range of functionalities such as syntax highlighting, code completion, and smart indentation, ensuring a seamless coding experience.
- Debugger: Xcode IDE provides an advanced debugging environment, allowing developers to identify and resolve issues efficiently. With breakpoints, step-through execution, and variable inspection, debugging becomes a breeze.
- Simulator: With Xcode IDE’s integrated simulator, developers can test their applications on virtual devices, mimicking real-world scenarios. This eliminates the need for physical devices during the development phase.
- Asset Catalog: Xcode IDE’s Asset Catalog simplifies the management of assets, including images, icons, and localization files, ensuring a seamless integration of resources into the application.
- Version Editor: The Version Editor allows developers to track and manage changes in their codebase, facilitating collaboration and version control.
- Analyzers and Instruments: Xcode IDE provides a suite of analyzers and instruments to monitor the performance and efficiency of applications, helping developers optimize their code and enhance user experience.
Setting Up Xcode IDE for Your Development Environment
To get started with Xcode IDE, you need to install it on your macOS system. Here’s a step-by-step guide to help you set up Xcode IDE:
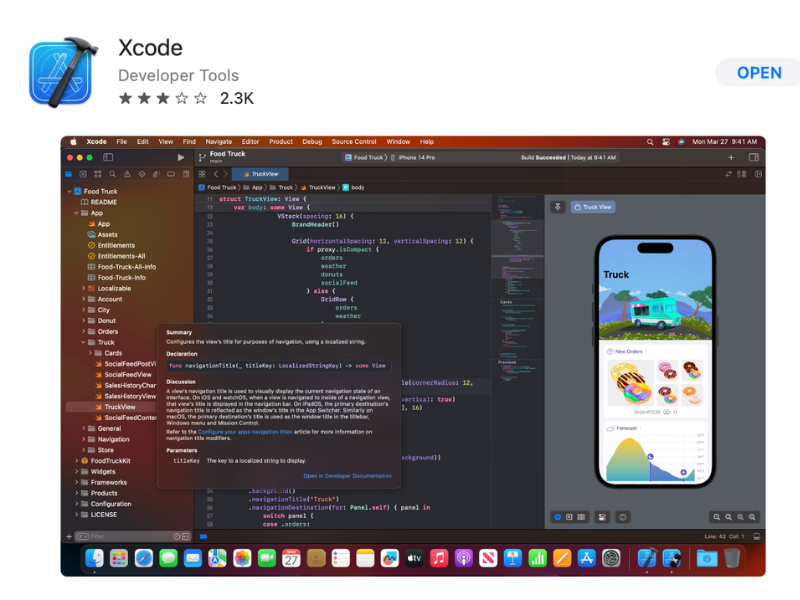
- Downloading Xcode: Visit the Mac App Store and search for Xcode IDE. Click on the “Get” button to initiate the download and installation process.
- Opening Xcode: Once the installation is complete, locate Xcode in your Applications folder and launch the application.
- Accepting License Agreement: Upon launching Xcode IDE for the first time, you will be prompted to review and accept the license agreement. Read through the document carefully and click “Agree” to proceed.
- Configuring Preferences: Xcode IDE provides various customization options to tailor the development environment to your preferences. Explore the Preferences menu to adjust settings according to your needs.
- Creating Your First Project: With Xcode IDE up and running, you can now create your first project. Choose the type and template that best suits your requirements, provide a name for the project, and select a directory to save it. Click “Next” to proceed.
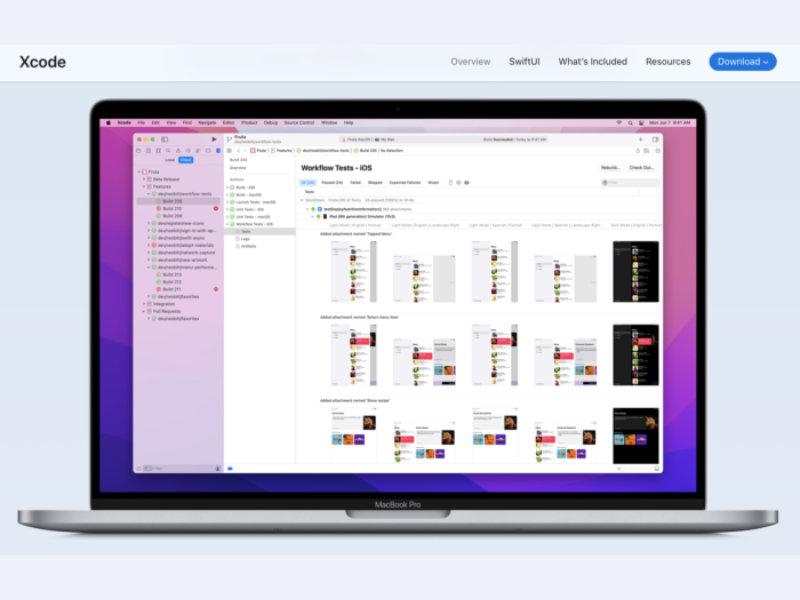
- Exploring the Interface: Familiarize yourself with the Xcode IDE interface, consisting of different panes, menus, and tools. Spend some time navigating through the various sections to gain a better understanding of the environment.
With Xcode IDE successfully set up, you are now ready to embark on your app development journey. Let’s delve deeper into the world of Xcode IDE and explore its capabilities.
Xcode IDE: A Developer’s Best Friend

Xcode IDE offers a multitude of features and techniques to facilitate seamless app development and unleash your creative potential. In this section, we will explore some of the advanced functionalities and tips that will enhance your development experience.
Harnessing the Power of Swift
One of the standout features of Xcode IDE is its seamless integration with Swift, Apple’s powerful and intuitive programming language. Swift simplifies the development process by providing a modern syntax, type safety, and advanced debugging capabilities. Leverage Swift’s features such as optionals, closures, and generics to write clean, efficient, and robust code within Xcode IDE.
Mastering Interface Builder for Stunning User Interfaces
Creating visually appealing user interfaces is essential for captivating your audience. Xcode IDE’s Interface Builder empowers developers to design stunning UIs effortlessly. Utilize the drag-and-drop interface to add buttons, labels, images, and other elements to your app’s interface. Take advantage of Auto Layout, a powerful layout system, to ensure your app adapts seamlessly to different screen sizes and orientations.
Debugging Like a Pro
Effective debugging plays a crucial role in the development of robust applications. Xcode IDE offers a plethora of debugging tools and techniques to identify and eradicate bugs efficiently. Utilize breakpoints to pause the code execution at specific points and inspect variables to gain insights into their values. Take advantage of Xcode IDE’s extensive logging capabilities to track the flow of execution and troubleshoot issues in real-time.
Optimizing Performance with Instruments
User experience is paramount when it comes to application development. Xcode IDE’s Instruments allows developers to profile their applications, ensuring optimal performance and efficiency. Instruments provide powerful insights into resource usage, allowing you to identify and rectify performance bottlenecks. Leverage the Time Profiler instrument to analyze the CPU usage of your app and the Energy Log instrument to optimize battery consumption.
Embracing Continuous Integration with Xcode Server
Collaboration and seamless teamwork are vital in the world of app development. Xcode IDE offers built-in support for continuous integration and delivery through Xcode Server. Harness Xcode Server’s capabilities to automate the build, analysis, and testing processes, ensuring consistent app quality across multiple iterations. With Xcode Server, you can effortlessly manage your team’s development workflow and streamline the release process.
FAQs

Q: Can I use Xcode IDE on Windows?
A: Unfortunately, Xcode IDE is exclusively available for macOS. It is not compatible with Windows operating systems.
Q: Is Xcode IDE suitable for beginners?
A: Absolutely! Xcode IDE provides a user-friendly interface and a vast array of resources for beginners to kickstart their app development journey.
Q: Does Xcode IDE support version control?
A: Yes, Xcode IDE offers built-in support for popular version control systems such as Git. Developers can easily integrate their projects with version control repositories.
Q: Can I develop applications for Android using Xcode IDE?
A: Xcode IDE is primarily geared towards developing applications for Apple platforms such as macOS, iOS, watchOS, and tvOS. To develop applications for Android, consider using Android Studio, an IDE specifically designed for Android development.
Conclusion
Xcode IDE stands as a powerful and versatile integrated development environment, empowering developers to create exceptional applications for Apple platforms. With its advanced features, user-friendly interface, and seamless integration with Swift, Xcode IDE streamlines the development workflow, enhances productivity, and fosters innovation.
By leveraging the tips and techniques outlined in this comprehensive guide, you can unlock the full potential of Xcode IDE and embark on a journey of creating groundbreaking applications. So, what are you waiting for? Dive into the world of Xcode IDE and bring your app development dreams to life.
